Upgrade Your Computer: RAM Installation Guide
- Kimberly Schooler
- Jul 13, 2025
- 4 min read

Upgrading your computer's RAM can breathe new life into an aging system. If your computer feels sluggish or struggles with multitasking, adding more RAM is often a simple and effective solution. In this guide, we will walk you through the process of installing RAM, ensuring you have all the information you need to make the upgrade smoothly.
Why Upgrade Your RAM?
Before diving into the installation process, let’s discuss why upgrading your RAM is beneficial.
Improved Performance: More RAM allows your computer to handle more tasks simultaneously. This is especially important for gamers, graphic designers, and anyone who uses resource-intensive applications.
Faster Load Times: With additional RAM, programs load faster, and you can switch between applications without lag.
Future-Proofing: As software becomes more demanding, having extra RAM can help your system stay relevant for longer.
Understanding these benefits can motivate you to take the plunge and upgrade your RAM.
What You Need to Get Started
Before you begin, gather the necessary tools and materials. Here’s what you will need:
New RAM Modules: Make sure to purchase compatible RAM for your computer. Check your motherboard specifications for the correct type and speed.
Screwdriver: A Phillips-head screwdriver is usually required to open your computer case.
Anti-Static Wrist Strap: This is optional but recommended to prevent static electricity from damaging your components.
A Clean Workspace: Ensure you have a clean, well-lit area to work in.
Having everything ready will make the installation process smoother.
Step-by-Step Installation Process
Now that you have everything you need, let’s get into the installation process. Follow these steps carefully.
Step 1: Power Down and Unplug Your Computer
Before you start, make sure your computer is completely powered down. Unplug it from the wall to ensure there is no power running through the system.
Step 2: Open the Computer Case
Using your screwdriver, remove the screws holding the side panel of your computer case. Gently slide the panel off to expose the internal components.
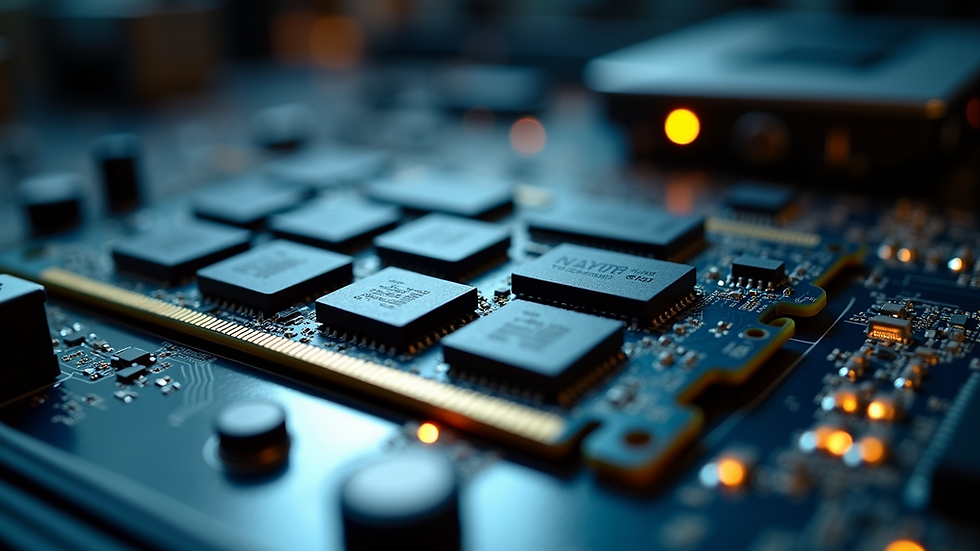
Step 3: Locate the RAM Slots
Inside your computer, find the RAM slots on the motherboard. They are usually long slots located near the CPU.
Step 4: Remove Old RAM (if necessary)
If you are replacing old RAM, gently push down on the clips at either end of the RAM module. The module should pop up, allowing you to remove it easily.
Step 5: Insert New RAM
Take your new RAM module and align it with the slot. Make sure the notch on the RAM matches the notch in the slot. Firmly press down until the clips click into place, securing the RAM.
Step 6: Close the Computer Case
Once the new RAM is installed, replace the side panel of your computer case and secure it with screws.
Step 7: Power On Your Computer
Plug your computer back in and power it on.
Step 8: Check RAM Recognition
Once your computer boots up, check if the new RAM is recognized. You can do this by:
Windows: Right-click on "This PC" or "My Computer," select "Properties," and look for the installed RAM.
Mac: Click on the Apple logo, select "About This Mac," and check the memory information.
If your new RAM is listed, congratulations! You have successfully upgraded your computer.
Troubleshooting Common Issues
Sometimes, things may not go as planned. Here are some common issues and how to resolve them:
Computer Won't Boot: If your computer does not start, double-check that the RAM is properly seated in the slots. Remove and reinsert it if necessary.
RAM Not Recognized: Ensure that the RAM is compatible with your motherboard. Check the specifications again if needed.
Beeping Sounds: If you hear beeping sounds when you power on your computer, this usually indicates a hardware issue. Refer to your motherboard manual for beep codes.
By being aware of these potential issues, you can troubleshoot effectively.
Tips for Choosing the Right RAM
When selecting RAM for your upgrade, consider the following tips:
Compatibility: Always check your motherboard’s specifications to ensure compatibility with the RAM you choose.
Speed: Look for RAM with a higher speed rating (measured in MHz). Faster RAM can improve performance, but ensure your motherboard supports it.
Capacity: Determine how much RAM you need based on your usage. For general tasks, 8GB is often sufficient, while gamers and professionals may benefit from 16GB or more.
Brand Reputation: Choose RAM from reputable brands known for quality and reliability.
By following these tips, you can make an informed decision when purchasing RAM.
Enhancing Your Computer Experience
Upgrading your RAM is just one way to enhance your computer experience. Here are a few additional upgrades to consider:
SSD Upgrade: Replacing your hard drive with a solid-state drive (SSD) can significantly improve boot times and application loading speeds.
Graphics Card Upgrade: If you are a gamer or work with graphics-intensive applications, upgrading your graphics card can provide a substantial performance boost.
Regular Maintenance: Keep your computer clean and updated. Regularly check for software updates and perform disk cleanups to maintain optimal performance.
These upgrades can work together to create a faster, more efficient computer.
Final Thoughts
Upgrading your computer's RAM is a straightforward process that can lead to significant performance improvements. With the right tools and a little patience, you can enhance your system's capabilities and enjoy a smoother computing experience.
Whether you are a casual user or a professional, investing in RAM can make a noticeable difference. So, gather your tools, follow the steps outlined in this guide, and enjoy the benefits of a faster, more responsive computer.


Comments